Master the swimmer's crawl in three weeks—and become the most graceful and longest-lasting swimmer in the pool!
Most people learn to swim not with the goal of pursuing professional competition, but rather as a recreational activity—much like badminton, long-distance running, or basketball—simply to sweat, unwind, boost their mood, and keep their bodies healthy. Therefore, there’s no need to stick rigidly to traditional swimming techniques or conventional freestyle methods. As long as you can comfortably and joyfully glide freely through the water for extended periods, you don’t have to worry about whether your approach aligns with traditional teaching methods.
Traditional swimming instruction typically recommends learning breaststroke first, though for children’s swimming classes, students may sometimes begin with backstroke instead. In fact, the learning curves for freestyle and breaststroke differ significantly: breaststroke is easier to pick up initially but harder to master thoroughly, while freestyle is more challenging at the outset—but once the proper techniques are mastered, achieving a "proficient" level actually becomes easier than with breaststroke. In fact, in Western developed countries, teaching freestyle takes precedence from the very beginning, clearly demonstrating that starting swimming lessons with freestyle is entirely viable and effective.
Traditional freestyle swimming instruction typically requires learners to master the flutter kick—developing that "whip-like" leg action—before progressing to the rest of the freestyle technique. As a result, it’s common to see swimmers in the pool diligently practicing their kicks while holding onto flotation devices.
However, thanks to the all-encompassing “Total Immersion” swimming philosophy, learning freestyle no longer has to start with kick drills. Instead, it begins with practicing one-sided body floatation, focusing primarily on mastering efficient side-to-side propulsion. This approach significantly lowers the barrier to entry for learning freestyle, making it far more accessible to beginners.
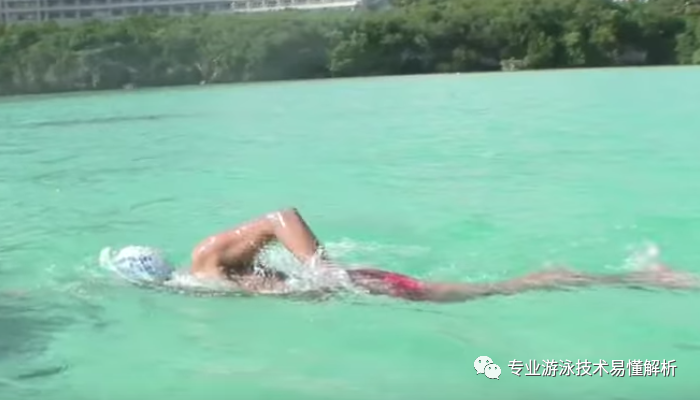
In fact, some swimmers—and even coaches—used to believe that without perfecting the kick first, freestyle simply couldn’t be learned. But that outdated notion is long gone. Just take a quick look online at videos of world-record holders and Olympic champions performing 800-meter or 1500-meter freestyle races; observe how smoothly and effortlessly they execute their leg movements during the stroke. Once you see that, there’s no room for debate anymore.
Here's a learning method to master freestyle swimming in three weeks:
1. Week 1: Practice floating in the water, exhaling, and side turns
I’ve written specifically about this exercise before, so I won’t repeat it here—just a brief explanation will suffice. When floating, keep your arms relaxed and extended straight ahead, engage your core by drawing your belly button toward your spine, and gently lower your head into the water while keeping your gaze fixed on the pool bottom. Breathe steadily through your nose or mouth, exhaling slowly—so slowly that you create tiny bubbles—until your legs begin to sink. During the exercise, make sure your head doesn’t move unpredictably up, down, or side to side. Your arms can naturally ease into the water, but they should remain fully extended at all times. Avoid applying any unnecessary force, and consciously avoid letting your shoulders feel like they’re actively pushing your arms forward.
Side Turn: Once you’ve mastered floating, engage your core and abdominal muscles to keep your body straight in the water. Then, gently shift your body to one side—aim for a maximum 45-degree turn—and see how long you can maintain this position. Remember, your feet can lightly flutter to help stabilize yourself.
2. Week 2: Practice leg and arm movements, along with sideways gliding.
Starting this week, focus on arm drills involving the catch, pull, and recovery phases.
Arm movements for "holding and scooping water": Float on the water with one arm extended forward, while the other arm practices the motion. Imagine there’s a pile of money right in front of you. Keep your upper arm still, and use your palm and forearm to gently "hug" the money toward your chest. Once the "money" reaches just below your chest, visualize the spot where your pants pocket would be—and from there, use your palm to push the "cash" smoothly backward, guiding it all the way to the side of your body, near your pants pocket. As your palm brushes against the outer thigh, the motion is complete: at this point, the "money" has safely "landed" in your imaginary pocket, while your body remains buoyant in the water, with one arm extended forward and the other resting comfortably by your side.
Repeat this exercise repeatedly, focusing on scooping up as much "money" as possible and efficiently pushing it into your "pocket." Remember, the key lies in moving slowly and deliberately—always staying connected to the sensation of the water around you. And don’t forget to keep your core engaged and your abdominal muscles tight throughout the entire process!
Arm movement: Imagine gently lifting money out of your pocket—keep your arm relaxed, using your elbow joint to raise your forearm, and then flick your palm forward. Avoid tensing your arm or failing to fully relax; the key is to remain aware of the weight in your hand. As you perform this arm movement, slightly rotate your body sideways to ensure your elbow doesn’t extend past your back, which could lead to shoulder injuries.
Leg movement should remain steady—focus solely on practicing the gentle downward motion of your feet, keeping the amplitude of your kicks similar to the range you’d use when stepping out into "Attention" or "Ease Off."
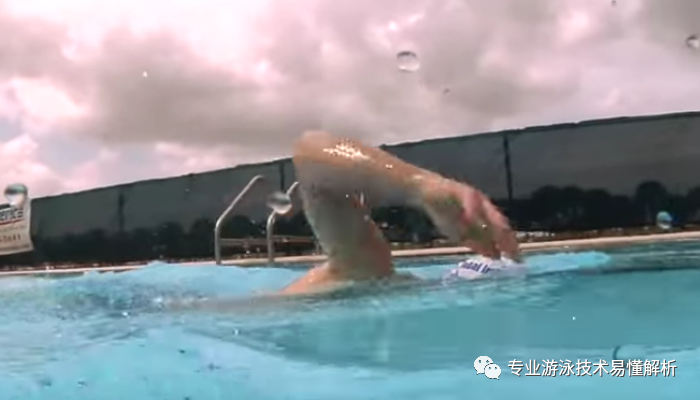
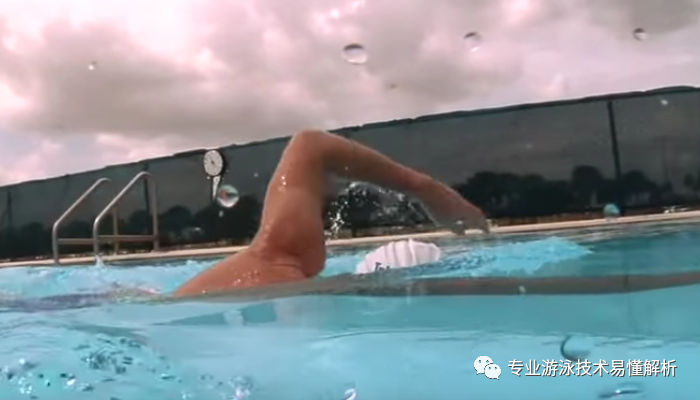
Side dolphin kick entry (using the left arm as an example): Extend your left arm forward without moving it, then engage your core and hip muscles to initiate a smooth rotation of your body to the right side. As you reach the maximum angle of rotation, simultaneously kick with your right leg while your right arm begins the recovery phase—first pulling water backward, then propelling it forward through the glide motion.
Once the right leg completes its kick, your body naturally starts rotating back to the left side. Before this leftward rotation is fully complete, your right arm should have already finished its recovery and be ready to enter the water again. Importantly, avoid entering the water prematurely; instead, let the combined force of your arm pull and leg kick propel your body forward, allowing it to glide smoothly through the water. Practice this movement repeatedly, paying close attention to timing and coordination, aiming for the longest possible glide distance. Throughout the entire sequence, keep your head firmly focused downward toward the pool floor—avoid any unnecessary up-and-down or side-to-side movements.
3. Week 3: Practice Breathing Transitions
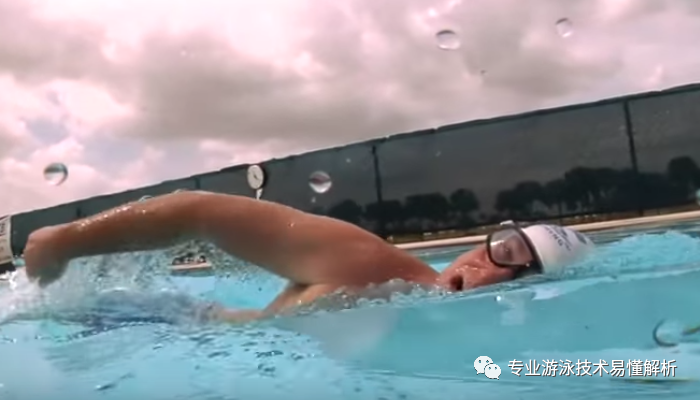
If you can fully follow the exercise instructions during the first week—specifically, by never holding your breath—you should find that your nose has adjusted to exhaling slowly while underwater. When practicing side drifting and entering the swim, incorporate the breathing motion: As your body turns to the right, simultaneously prepare your head to turn as well—avoid lifting your head above water. Keep your nose exhaling steadily throughout the process, smoothly executing the arm recovery and pull-through movements. Just as your hand begins the forward sweep, naturally open your mouth to inhale. And as your eyes spot the start of the arm recovery, gently guide your head back underwater while continuing to exhale slowly through your nose.
During the breathing process, don’t worry about water entering your mouth—just hold the water in your mouth with your lips slightly parted. You don’t need to actively inhale; oxygen will naturally flow into your mouth. Then, as your head returns to the water, gently exhale the water from your mouth.
Breathing exercises require your body to adapt—don’t rush the process. Stay relaxed throughout, moving slowly and deliberately without forcing yourself. With practice, you’ll quickly master this technique.
Special reminder: For the first two weeks of practice, consider purchasing a snorkel to help you stay more focused. This is a practical teaching tool widely recognized by swimming enthusiasts as an effective way to significantly accelerate your freestyle learning process.
Related Articles
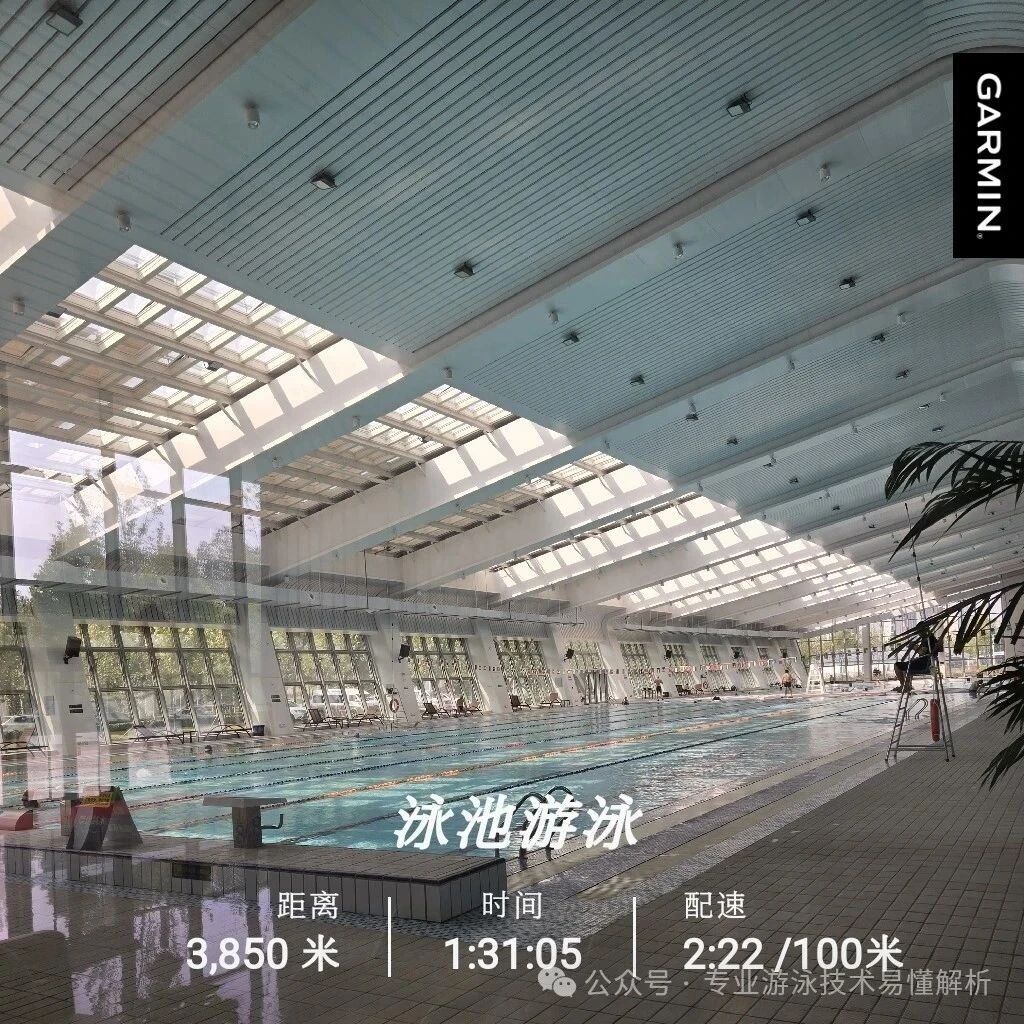
Finished a 1.5-hour weekend swim session as planned.
What’s the key to speeding up freestyle swimming? How should stroke frequency and stroke length be balanced?