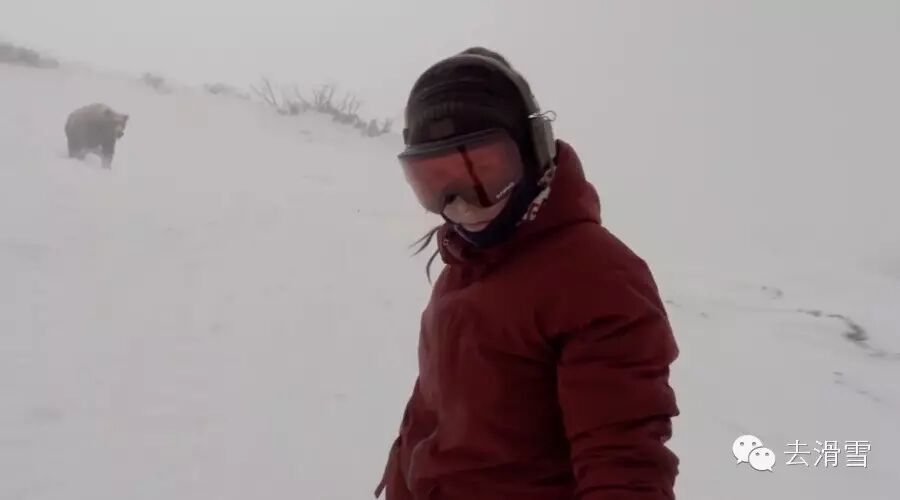
Did you use your snowball properly?
This time, what I'm sharing with everyone isLearn to Ski: The Ultimate Double-Board Tutorial SeriesThis video series consists of 6 episodes, covering everything from basic introductions to the challenges of carving—along the way, it shares plenty of valuable tips and techniques. Today’s episode focuses on…Chapter 5: From the Blue Line to the Red LineChapter 6: Fundamentals of CarvingFor example, it provides a detailed explanation of snowball fights, turning techniques, and carving skills—check out the video below👇: (ranging from 3 to 5 minutes in length)
Chapter 5: From the Blue Line to the Red Line
Properly using snowball fights:
A.The necessity of using snowballs correctly:
Learning to use snowshoes correctly canImprove your balance., and it also makes it easier for you to transition smoothly from one turn to the next.
B. Key points to note:
You only need to use your arms,Don't move your upper body.. Use the inner-side arm to plant the ski pole into the snow just before the start of the new turn. The ski pole will mark the starting point of the new turn—and can alsoUse rhythmic pauses to enhance the sense of rhythm.The goal is to make your sliding smoother and easier.
Turning techniques:
① When starting a turn,Stand up and then squat down., apply more weight onto the snowboard to finish a turn. (Notice how the skier in the footage continuously applies pressure throughout the turning motion.)
②Once you’ve mastered the basic techniques, you can start refining your skiing style. At higher speeds, carve wider, more fluid turns.
Chapter 6: Fundamentals of Carving
Why use a carving skateboard:
A.SnowboardingFeatures:
The nose and tail of carving snowboards are wider than those of traditional snowboards. This feature makes them easier to use for carving maneuvers.
B. Using carving skis:
Edge your carving skateboard upright, and at the same time,Apply pressure to the middle of the snowboard using your center of gravity., the snowboard naturally carves out an arc. As you start gaining speed, the board forms an angle with the snow surface—you can actually feel the board almost turning on its own.
Carving-to-turning technique:
① Start by crossing a slope, then tilt the knee closer to the valley side inward toward the turn.
② Once you’ve grasped the key point, tryMoving both legs simultaneously"Both your knees and ankles need to move, allowing the snowboard to tilt inward toward the turn. As you carve, make sure you can consistently maintain…"Knees and ankles tilt inward toward the turn.Before tilting your knees toward your ankles, try your best each time toMake the snowboard point more vertically toward the valley.
③ Once you’ve become proficient at turning on both sides, you can start connecting them. Find a gentle slope and begin by sliding down it.Pay attention to ensuring smooth and well-controlled movements.. Shift your stance from one side to the other and see how sharply the snowboard can turn.
④ Use your knees and ankles to initiate your turn. Once you start accelerating, you should lean your body toward the slope and the inside of the turn.The faster the speed, the greater the lateral tilting motion needs to be.Larger movements help your snowboard grip the snow surface at high speeds.
The two videos shared this time primarily focus on snowboarding.
Snowball fights, turning techniques, and carving skills.
Friends who want to watch other videos in this series,
Click “Read the original text"You can watch it now."


 WeChat ID: quhuaxue01
 Long press the QR code on the left to follow us.
 Check out the original article—The "Master Skiing" tutorial video series is waiting for you!